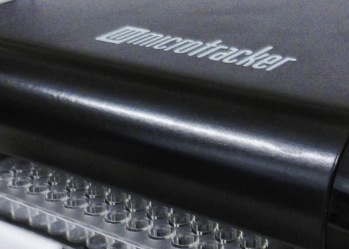
You have just received your WMicrotracker in your office and you are anxious to start using it. First of all, let me welcome you to the world of monitoring small animals. The first thing you should do is to set up the hardware and software. In the following text you can find a guide to do it successfully:
Step 1: Install the device driver (Driver)
On Windows systems a USB device driver should be installed on your computer. The drivers can be downloaded from www.phylumtech.com -> support section -> “direct USB connection.”
Note: To check if the USB driver is properly installed, check to see if a new COM port has been detected on your computer after connecting the WMicrotracker.
Step 2: Software installation
The WMicrotracker acquisition software can be downloaded from our website: www.phylumtech.com -> Support page -> Version 3.x
Unzip the files to a temporary folder and follow the detailed instructions in the Readme.txt file.
Soon:
- You will need to copy the / wmicrotracker / folder to c: / wmicrotracker
- After installing the USB driver, just connect the computer to your computer, and run the file: c: /wmicrotracker/wmicrotracker.exe
Step 3: Hardware check (WMicrotracker computer).
Some useful steps to follow in case you want to verify that everything is working perfectly are:
System startup test
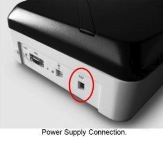
Connect your power supply to any outlet and the power supply output cable to the back of your WMicrotracker in the location indicated as “12VDC or 9VDC.”

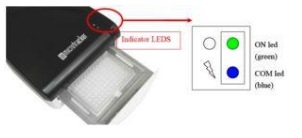
When the power supply is connected to the computer, the green light at the top right should light up and the blue light should flash three times (this is a microprocessor system check).

USB connection:
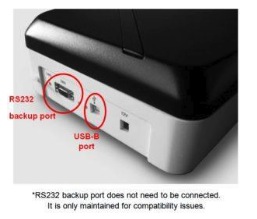
Connect the USB-B cable to the USB COM port on the back of the computer and the USB end to any free USB port on your computer. The Windows system must recognize a new device when connecting the system.

* Some versions require an adapter communication box. This will be provided with the system
